Over the past few days I have done several things to help me progress my income levels from around $1000 to $3000 a month.
The first thing I did was write my list of 10 sites that I want to build to $10 a day. When I achieve that I will be earning $100 a day/$3000 a month. This gives me my “HOW”.
Next I looked at each site individually and checked my earning levels. This provided me with a snapshot of what I need to work on. In other words it gave me a To Do list for reaching my target. This gives me my “WHAT NEXT”.
One of the sites I want to build to $10 a day is Ads by UAP, so I sat down and thought about what I need to do to increase my earnings here. The answer was “I have 2 options”. I could focus on getting some more referrals for myself OR I could aim to help my current referrals with team building. This gives me my “ACTION REQUIRED”.
I opted to do both at the same time by creating a fully automated ad campaign designed to get upgraded referrals ASAP. I will use this campaign myself, but also provide it for my team to use.
How To Start An Automated Ad Campaign
I started my own ad campaign by writing this blog post: From Zero to $10 A Day in 30 Days. This provides the information that I want to share with others explaining how they can reach $10 a day.
The next thing I did was to start sharing this on Facebook and via my email list on Leadsleap. This begins the process of raising awareness about the campaign.
Today I am starting to automate my ads and will share EXACTLY what I have done step by step to allow my referrals to copy it if they wish to do so.
For this campaign I have decided to work on list building instead of sharing my blog post directly.
Why?
It is a good idea to use a variety of methods as different things appeal to different people. It is also a while since I set up some list building campaigns and I would like to focus on getting some new subscribers.
To work on list building and to copy my ad campaign you will need to have an account with Leadsleap. This provides all the tools you need for free.
I used my Leadsleap account to create a lead capture page first of all. It looks like this:
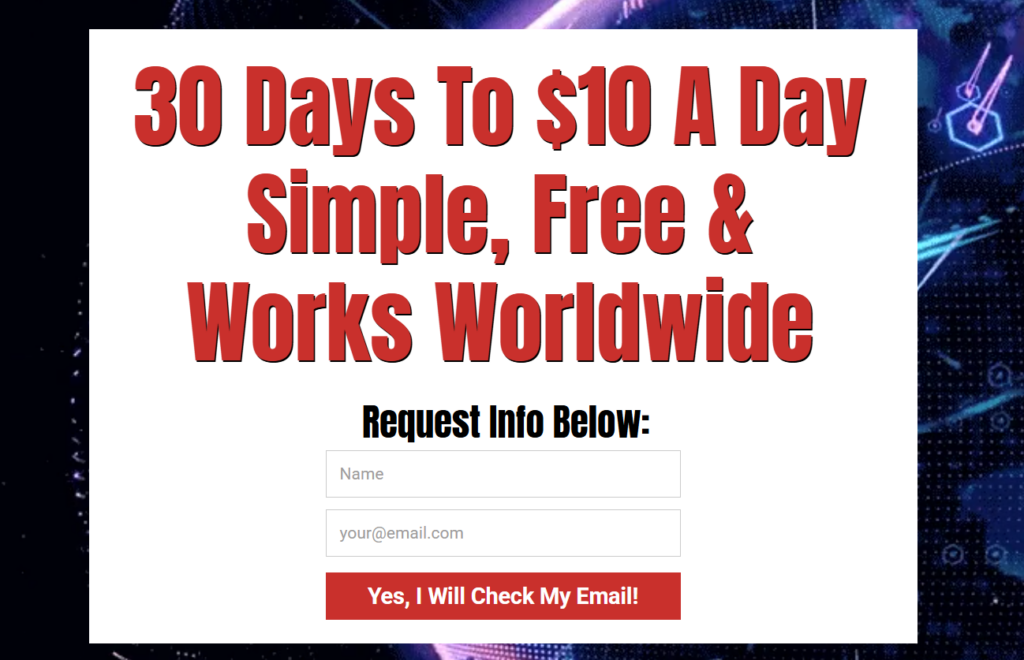
In 1 day this lead capture page added 22 new subscribers to my email list when I shared it on 2 traffic sites.
You can import a copy of this page into your Leadsleap account by using the code: page-aHCVfVhWZk
To do this click first on PAGE MANAGER -> ADD NEW PAGE. Give your page a name such as “$10 in 30 days” then save it. You will now see the page listed in the page manager section.
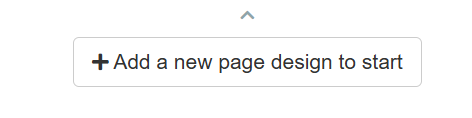
Click on the ADD NEW PAGE DESIGN button:
You will see the box to enter the code:
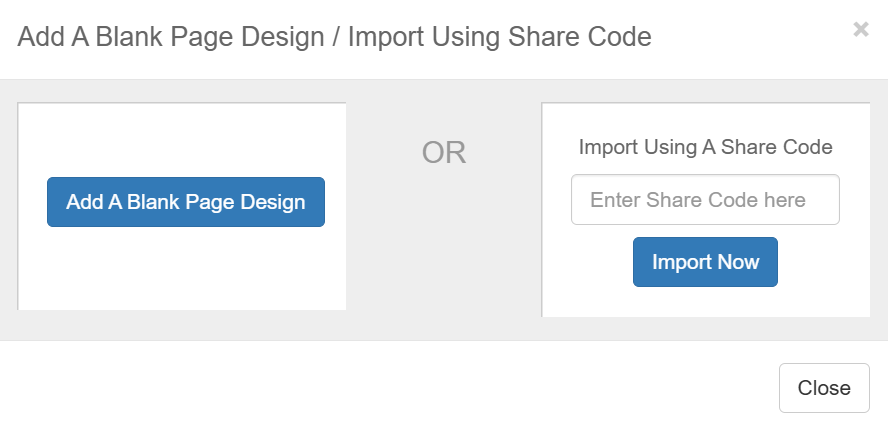
Enter the code provided above then click on IMPORT NOW button and a copy of this page will be added to your account. NOTE: You will see a red error message as the page needs to be connected to a list before you can use it.
To resolve this error you need to add a list next. Click on LIST MANAGER -> ADD NEW. Give your list a name such as “$10 in 30 days” then save it.
Next click on ACTIVATE and fill in the form you see – you need to add some contact details etc.
Now you need to connect the page to the list. To do this open your PAGE MANAGER and you will see a LAUNCH EDITOR button on your page listing:
Click the Launch Editor button and then choose LIST in the small side menu:
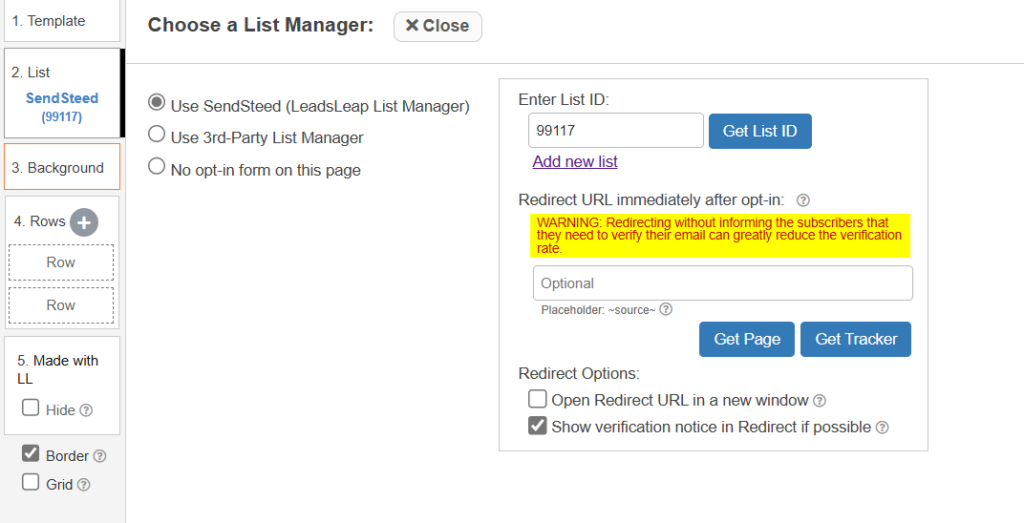
Click on the GET LIST ID button and choose your list from the drop down menu. Click the green save button at the top right of your screen:

You can now close the editor page and the error message will be gone.
The last step in setting up your automated campaign before you start promoting is to add an email that gets sent out to all new subscribers.
To do this click on LIST MANAGER again and you will see the envelope icons:
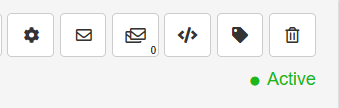
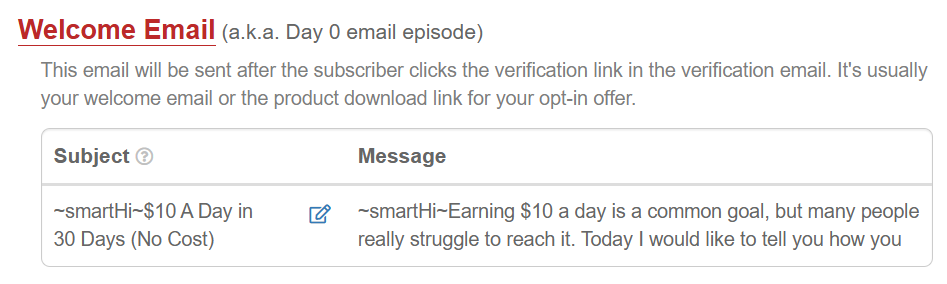
Click on the single envelope icon to edit the welcome email. You will see a pencil icon under the Welcome Email click on that to open the email editor.
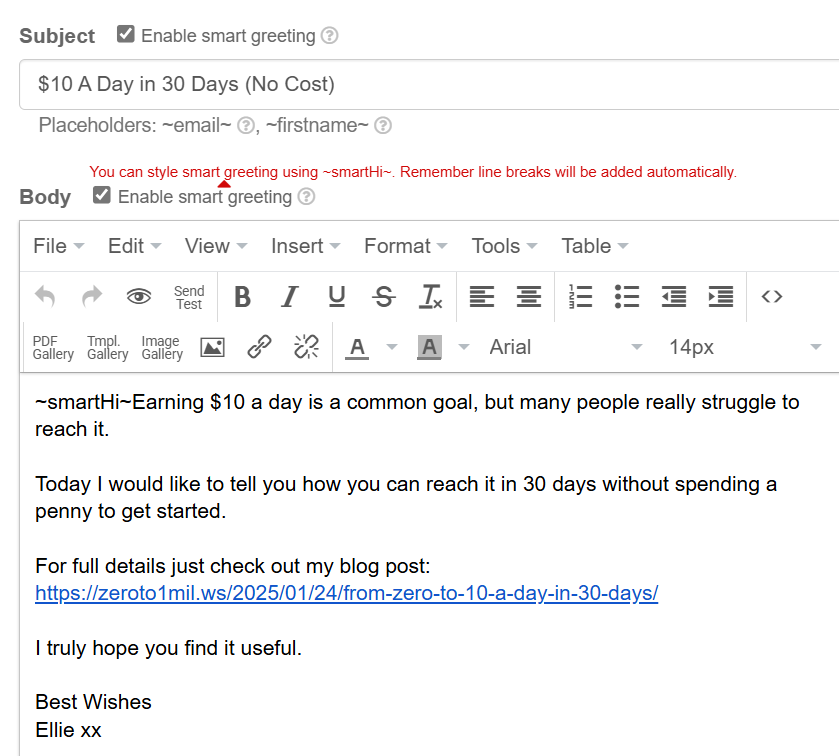
Here is my own welcome email for this campaign. As you can see I keep the message short and I direct new subscribers to read my blog post for info.
The ad campaign is now created and ready for promoting.
I will explain more about promoting in my next blog post!
Leave a Reply